Whether you’re an elementary school or high school teacher, a lecturer in an academic institute, a tutor, or a workplace instructor – this one is for you. Creating learning materials (such as quizzes, or a knowledge-based virtual human) with Beyond Virtual was already easy and intuitive, and now you can manage your group of learners. To fulfill this goal, we’re proud to launch our new teacher dashboard and class management system.
Creating the class on the Teacher Dashboard
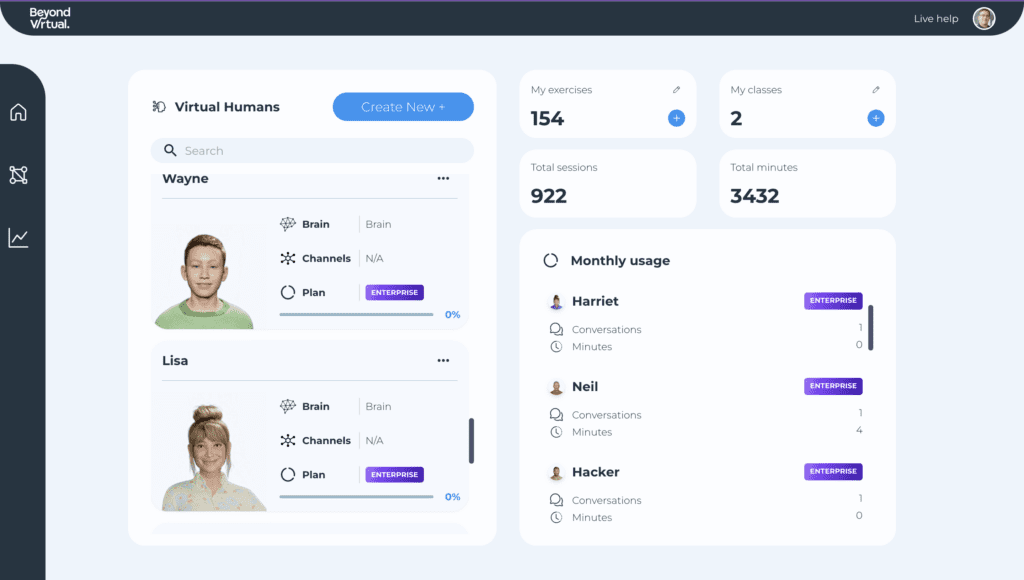
1. There’s one pre-condition: to use Beyond Virtual’s teacher dashboard, you have to register first and have an account on the platform. After registering, you’ll see this screen (of course, with fewer exercises):
2. To create a class, click on “my classes” in the upper right corner:
3. Then, enter the class name, and you can also add a description for internal uses (for example – “high fluency level”, “students with disabilities”, etc).
When you’re done, click “Next”.
4. To upload the students’ list to the teacher dashboard, you need to fill in the Excel sheet example like we did here – first, download the table example from our platform:
Then, make sure that for every student, the 3 columns are filled: first name, last name, and email address.
5. Once the list is ready, upload it to Beyond Virtual. After you see the progress bar is at 100%, click “Continue”.
6. Now, you will be able to verify that all students’ names and email addresses were uploaded correctly to your teacher dashboard.
Once you’re sure, click “approve”.
Sending the exercises to the students
Now, there are only three steps left:
7. Make sure you have an exercise to send to your students – because that’s why you’re using Beyond Virtual in the first place…
8. Let us know here that everything is ready – that you have the exercise and the students list in place
9. We’ll take care of the rest – we’ll send the students a unique link to speak with the virtual humans, so you will be able to track their performance. (This part will be automated – we’re working on it).
Monitoring students’ performance in the teacher dashboard
10. After the students practice with the virtual humans, enter your class again.
Now, you will see all of the students who took the exercise (and those who didn’t), and how they fared.
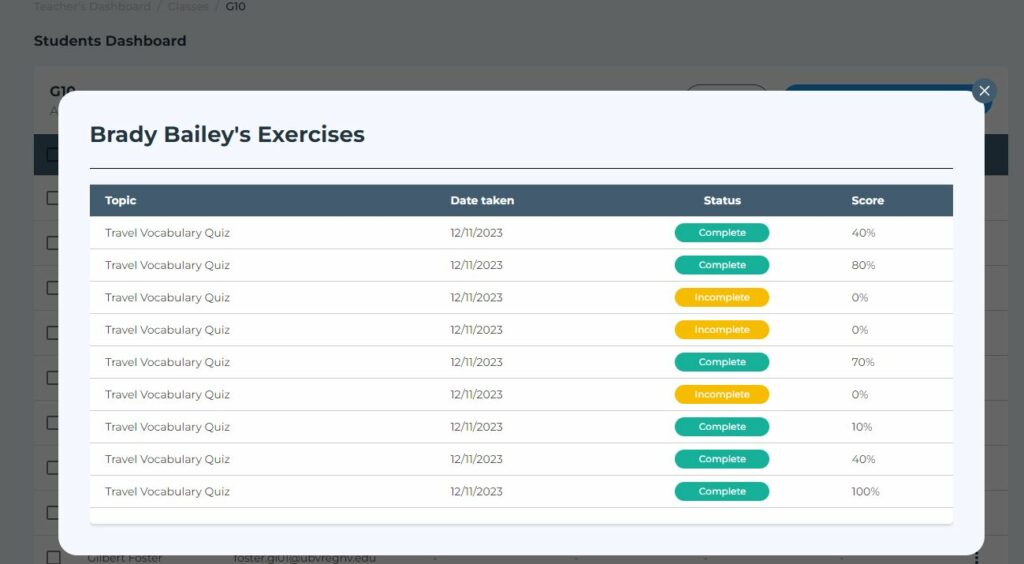
11. By clicking on a student’s name, you will be able to see all of the exercises this student took – and how he or she fared: how many times did they take the exercise, what were their grades, and whether they completed the exercise or not.
Amending the student’s list in the teacher dashboard
12. In case you need to remove students: first of all, check the boxes near the relevant names. Then, click on “Remove students” in the navigation bar:
Then, approve that you want to complete the students’ removal.
13. In case you need to add new students to your class- click on “Add a new student”, then upload the Excel sheet again after the changes.
14. Finally, if you want to export the students’ grades and achievements from the teacher dashboard to an Excel sheet – you can do it by clicking on the “Export” button.
And… that’s all! Thanks for reading about our new teacher dashboard and class management system. If you still need any help, drop us a linehereand we’ll hop on a call to help you. Good luck!